Update #3 on Multiplayer

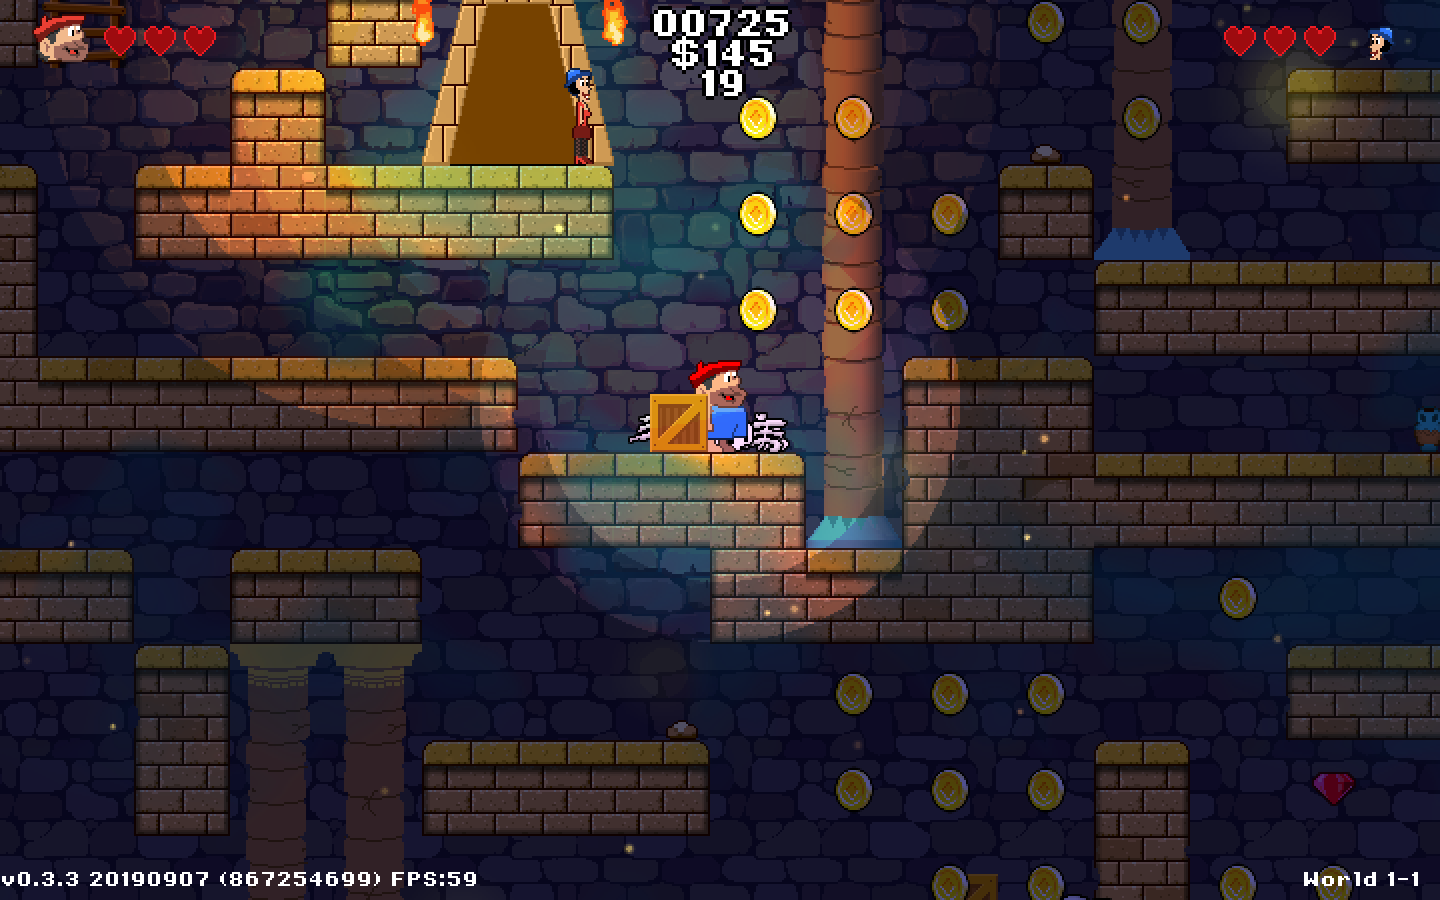
This week was focused on getting lag compensation in place, and I focused on two specific events which should be to appear as responsive as possible, namely picking loot and landing on enemies’ head.

So remember that the player is seeing the world 100ms behind, but his avatar is updated immediately thanks to Input Prediction which was done last week. When picking up loot, it needs to be verified by the server. When avatar touches a loot, it sends a request to the server with the current render tick (~100ms behind). The server will go back in time to verify that he can take the loot, and reply with a yes/no answer.

The landing on an enemy head (and killing him) is slightly more complicated, namely because it we create a dead body instance that flies off from the position of the killing. So if it is accepted by the server, we need to simulate back in time to the current time for both the server and the client, since they are both rendering 100ms behind.

Since a lot of data structures are involved in making this possible, it was inevitable that I would do some typo or other stupid mistake. And this is where I miss Unity and it’s strong typed C#. In GameMaker you can do anything and it will not check for you. So for example you can delete a buffer instead of a list and it will not complain but will obviously corrupt the memory and then you start having all kind of weird crashes. I would accept this in a compiled released version where all checks are removed, but I was surprised no checks at all are being done in the debug VM version. Because of this, I think this will be my first and last project on GameMaker.

Update #2 on Multiplayer

This week I focused on getting input prediction working. What I had working last week, I had the remote player pressing keys, sending them over to the server and waiting for the server to reply back with the next state of the player. Adding the 100ms delay for interpolation purposes you would have 100ms + ping time before you see your character move. That’s pretty bad as the game would feel very laggy.

What Input Prediction does is that the remote player’s avatar will appear moving immediately as if it’s a non-networked game. It will save the key strokes requests sent to the server by giving them an id together with the predicted position. The server will receive these key stroke requests, and will reply back with the resulting position as calculated by the server. The remote client will then receive these server-verified positions and double check if the positions calculated for that key stroke request matched or not. If it doesn’t match then it will start fixing the position according to what the server calculated.

The next part of the puzzle for next week is Lag Compensation. This will solve the issue for having events (like picking up loot or killing enemies) appear more responsive.

Working on Online Multiplayer

Pyramid Plunge already has local multiplayer implemented. It’s not cooperative as most have thought. It’s actually a competitive game where each player controls their own George+Felicie. The player who exits the level with the most coins wins. To make it more interesting you can steal the coins from the other player by throwing objects to the other player were half their coins will spew out of them ala Sonic. You cannot harm your opponent though as otherwise the game would be over pretty soon. The first one to exit triggers the flood and also becomes the jellyfish so he can hunt down the other player. 

These last couple of weeks I decided to bite the bullet and start implementing online multiplayer. I know there is Steam Remote Play Together to play a local multiplayer game online, but there will be a bit of delay on the remote player since he’s basically streaming the game from the other player.

I’m following the basic principles outline in the Source Engine multiplayer, and I’m using peer-to-peer server-client architecture. The server will be authoritative, so whatever the server says is legit. The client will basically be a dummy client sending keystrokes 30 times per second, and the server sends world updates 20 times per second. I got that working so far with entity interpolation in place. So the next thing I will be working on next week will be input prediction to make it feel more responsive on the client side.

Implemented suggestions for v0.4.5

I’ve been chatting to some twitch streamers and it was very educational to get feedback. We had the first twitch stream 🙂 Thanks CadetLegend15

https://www.twitch.tv/videos/494451477?t=02h20m45s

 I also got some valuable feedback from VeRKK and tried to implement some changes. Mainly there needs to be some difficulty setting to ease in the players. Also the ability of double jumping while carrying her should reduce some frustration.

Here’s the full release notes:

Release Notes v0.4.5

Added
=====
* Highlight current tutorial step
* Suggestion: Show picked up items descriptions
* Suggestion: Added difficulty setting in single player mode

Fixes
=====
* Fix for water on 2nd player view being misaligned
* Fix for spider webline drawn incorrectly on 2nd player view
* Fixed issue when using thumb joystick to exit level but you didn’t really do an up
* Removed mouse cursor
* Fix for friend being behind the player while swimming
* Show Tutorial Complete instead of Level 1 Complete when completing tutorial level
* Fix for shop not appearing in subsequent levels after completing tutorial
* Fix for Boss dead body not rendering properly

Modified
========
* Removed C4 tutorial popup as it was annoying and useless
* Don’t allow action key when in tutorial starting platform
* Added some more coins to the tutorial so you can buy something
* Suggestion: Tried making the throw more responsive (no more delay due to animation)
* Suggestion: Allow double jump while carrying friend
* Tweaked a bit the speed of the player
* Made picking up things easier. You don’t need to be exactly on them anymore
* When playing multiplayer fill up water more to avoid player hiding from jellyfish
* To exit the level when swimming you also need to press up.
* Show unaffordable items’ price in red

v0.4.4 out now

Just a minor update from yesterday’s build. Mainly some fixes which were breaking local multiplayer.

Release Notes 0.4.4

Fixed

  • Fix for match over on first win in local multiplayer
  • Fix for hasControl to be bound per player and not global, as it introduces bugs in multiplayer
  • Fixed priority of lift sounds which was interrupting more importing sounds

Modified

  •  Updated music for invincible power up

Improvements in visuals

This is a follow up on this article.

So these last couple of weeks I was mainly focusing on getting Pyramid Plunge to look better, and I tried to attack the problem from different angles, mainly Atmosphere and Depth.

Now it looks like this:

As a reminder, previously it looked like this:

I think it looks much better now. Here’s a breakdown of what was done:

Atmosphere

The game somehow lacked that your in a mysterious place and after brainstorming a bit I came up with the following changes that I could experiment with:

Shadows – we know how that turned out

Fog – I added some green myst and it gave it a real interesting feel to it, even though it’s very subtle

Lighting – The previous lighting was too basic (just darkened everything and subtracted circles of light). I now opted for pixel-based lighting with normal mapping and specular lighting thrown in the shader. Normal mapping gave a sense of depth, more on this later.

So for light we added some Ambient light, dark blue to give a sense of cartoony darkness, and then candle light yellow light for the torches that flicker (and also some glow on top). For the light coming from the players, we used a tint of green but not much. We also tried spawning torches across the level to remove the light from the players, but this turned out to be distracting for the fast paced game Pyramid Plunge is shaping into.

Props – The background looked too empty and repetitive

  • Columns – These immediately reinforced the egyptian theme
  • Sand dunes – Small mountains of dust spaced here and there added a nice touch
  • Spider webs – We place them randomly in corners and scale them randomly too and gave a sense of an abandoned place
  • Murals – These were placed seldomly to seal the egyptian theme

Depth

I wanted the game to somehow pop out in a subtle way. And two things came to my mind: Faking depth with normal maps and lighting, and parallax effect where you have multiple layers scrolling at different speeds.

Normal Maps – I tried several tools, but wasn’t happy with the results. So most of the normal maps I painted them myself. See previous article for more details on normal painting. Recently we also found an easy to use free/pay-what-you-want normal map generator tool called Laigter.

Parallax – This is something I still need to experiment more with as I couldn’t get something decent yet. I’m thinking having 3 layers. The background bricks, columns, and the platforms. But this still looked odd while playing and felt more distracting to the player, so we didn’t include this yet.

Now that we have the tech in place, I’m looking forward to continue production on the next themes and their enemies.

Striving for Pixel Perfection

So I forgot about high-resolution monitors, and this happened while a player was play testing it on a high-res monitor. ?

Besides the error in the water shader, the player was seeing a bigger chunk of the level making the game super easy to win. What was happening was that I was using a 2x scaling factor on a 4k monitor. If it wasn’t for the water shader problem, I probably wouldn’t have known what was happening on high-res monitors.

This got me thinking on how to best tackle this on the million different types of resolutions / aspect ratios.

Let’s start with the simple one: Aspect ratios. I’m targeting mainly 16:9, but there are super-wide and fatter aspect ratios. The most important thing is the height of the game. Seeing more horizontally shouldn’t give such a big advantage.

Next is different resolutions and there are basically 3 options:

A) scale the graphics by a round scaling factor (x2, x3, x4 etc),  depending on the resolution of the screen

B) stretch to keep the design height with NO bilinear filtering, but this introduces some pixel duplication, or even decimation

C) stretch to keep the design height WITH bilinear filtering, but this introduces blurriness.

So even though some monitors will have a bit more vertical, or more horizontal, I’m going to stick with option A.

Also here’s a sneak preview of the new lighting WIP

Trying to make Pyramid Plunge look better

It was a busy two weeks experimenting on some tech to make the game look better. I’ll be talking on Normal Maps for 2d sprites and drawing hand made normal maps, deferred lighting and myst/fog shader

Normal Maps

These are typically used in 3d where you have the normals information stored in RGB of each pixel, so if you have 1,0,0 color the normal is sticking to the right (x), 0,1,0 the normal is sticking upward (y), and 0,0,1 the normal is sticking out in the Z direction.

These normals information are used with the lighting part of the shader so that it gives more depth to the rendering.

Go and have a look at this online tool to generate normal maps: https://cpetry.github.io/NormalMap-Online/

Unfortunately the generated normal maps (especially when it’s just from 1 diffuse image) are not accurate. There are other tools which will generate normal maps, some from multiple images with different lighting conditions, but I always wanted to experiment with drawing normal maps by hand.

You basically pick a color from a normal map containing a sphere, and paint with that color. You can use photoshop/Gimp or a more focused tool like Sprite Illuminator.

If you want to use Photoshop, you can use the 3d system where you can drop in a light and move it around to see how your normal map is behaving. This gives a nice tutorial on how to start: https://magazine.artstation.com/2019/04/handpainting-normal-maps-in-photoshop-with-nick-lewis/

Here are some other interesting articles on 2d sprites and normal maps:

https://www.gamasutra.com/view/news/312977/Adding_depth_to_2D_with_handdrawn_normal_maps_in_The_Siege_and_the_Sandfox.php
https://www.gamasutra.com/blogs/SvyatoslavCherkasov/20181023/329151/Graveyard_Keeper_How_the_graphics_effects_are_made.php
https://www.gamasutra.com/blogs/OliverFranzke/20140828/224326/Dynamic_2D_Character_Lighting.php

Deferred Lighting in Game Maker Studio 2

In order to calculate lighting on sprites, you need to use a shader to do the calculations per pixel, and if you have more than one light, the ideal is to use a deferred lighting shader. What this entails is to have different surfaces (buffers) where to draw the diffuse, normal maps, and specular, then pass these surfaces to the shader to calculate the resulting image. This causes a bit of nuisance in GM because you have to render the thing multiple times with different sprites (diffuse, normal, specular). I opted for splitting these 3 phases using GameMaker’s Draw Begin, Draw, and Draw End for diffuse, normal, and specular respectively. Then pass the surfaces at the end to finally draw to the application surface. Since I didn’t have time to draw all the normal/specular maps, I created default shaders to have a flat normal map for the current sprite, and no specular for current sprite.

I created the deferred lighting shader following this great resource:

https://learnopengl.com/

Myst/Fog Shader

I’m no shader guru but there are lots out there who do crazy stuff with black magic, i.e. insane math. There are some cool demos over shadertoy.com and you can easily adapt them to GameMaker Studio 2 with some tweaking to get it like you want it.

Also this resource is also interesting when it comes to shaders: https://thebookofshaders.com

Not all that glitters is gold – dynamic shadows might not be for your game

I’m always thinking on how to make the game look better, and I thought perhaps dynamic lights might give the game a bump in visual quality. So I took a screenshot and did a quick 2 minutes mockup of how it would look like if the game had dynamic lights and shadows. Here’s how the game looks right now (simple circle light), followed by dynamic light mockup.

I thought that looks nicer! So I invested some time to make a simple implementation as outlined here and here.

This is how the dynamic lighting prototype looked. I modified it a bit to expose part of the platforms as otherwise it would be just dark.

Ok, the platform edges can be smoothened, and even the shadow edges. But the gist was there. The first reaction was WOW. But then after some playtesting, the shadow lines dancing around with you weren’t a nice effect as I had imagined. Since the light is always with the player, the shadow lines were always on the move and believe me, it really annoys you while playing it. It may look cool in a statical image or even in a video, but when playing it it feels like you have a sort of cognitive overload with all those shadow lines zapping around your avatar.

So yeah, back to simple circle lights ?

Why I’m using GameMaker and not Unity

I’ve been using GameMaker Studio 2 for the last 4 or so months on a roguelike platformer with a ton of humor called Pyramid Plunge, and it’s kinda funny how I ended up really liking this engine. This is how it started…

So I heard about GameMaker several times for several years but it always looked too basic whenever I looked at it. I had an idea for a roguelike platformer and felt like experimenting a bit before actually starting the random level generation. So I decided to try something out. Try to make a simple platformer (static screen) where you can jump around and shoot enemies with a gun. I said I will try GameMaker and Unity side by side, i.e. give each engine a couple of days and decide from there. Now I’ve been using Unity for 10 years so I thought it was going to be an unfair comparison. But for 2D I was more used to NGUI and didn’t yet get to use all the 2D stuff tools they’ve been adding.

I decided to start with GameMaker Studio 2. I installed it, and started some asteroids tutorial just to get an idea of the engine. My first reaction when I realised the horror that each method needs to be in a separate file was, “WHAT IN THE HELL?? Uninstall!”. And that’s what I did.

So I went back to Unity and started on the simple platformer and for the couple of days I spent on Unity I was not really happy. It really felt that Unity was not made for 2d games, and that’s what it is. It has been adapted for 2d. I felt like I could do more in that time and also I wasn’t feeling the controls were anything close to what I wanted.

I decided to give GameMaker another chance. I re-installed it, and this time I said I will forget all about the nice OOP stuff we’re all used to, and the code editors, and try to forget about Unity for a couple of days. I finished the asteroids tutorial and then started doing the simple platformer with shooting. To my surprise I started getting a good feel for the platformer not to mention the speed to get things done. I can’t exactly pin-point why this is because on paper Unity is much more advanced. But the tools in GameMaker are so razor-sharp focused for 2D games and the API so simple to get you started that you feel like a rocket is attached to your chair.

Once I was happy with the controls and had a sort of fun toy where i could jump around with the character and feel the controls were precise enough, I thought I will probably get stuck when trying to do level generation since it’s more abstract. But I got something running after a couple of hours. From that point on I never looked back and kept improving on that prototype.

If you’re holding back from trying GameMaker because you’re used to Unity, and you want to do a 2D game, I strongly suggest you give GameMaker a chance. If you’re going to try it, prepare yourself for the following:

  • Forget the typical classes with methods. Each method is a script file and can therefore be used by unrelated objects. I’ve heard they will be changing this soon
  • Forget anonymous methods (lambda) although I’ve heard that is coming soon too
  • Forget about dropping PSDs and such. Unity’s import pipeline is much more straight forward but this is not a show stopper.
  • Forget about using animation tool for keyframes etc. It’s all code baby – just get used to programming the animations with tweens, as it should be. I never liked using keyframing animations anyway in Unity either. In fact I had done my own tweening library for unity. For gamemaker I use this: TweenGMS Pro
  • Forget playerprefs BUT there’s an awesome free plugin with the same functionality but you don’t need to remember calling Save – playerprefs_gm
  • You might get confused with the GameMaker versions they have at first, but in short the free version is limited to number of objects/scripts/etc you can create. You will get hooked and then buy the creator version (39$). This will not create optimised builds though as they have some VM version, and also it’s only for one platform that you run the IDE in. So you can then upgrade later to the Developer version (99$ or the difference if it’s just an upgrade). Then they have the console version which is just 199$

Once you get over the above, and change perspective on GameMaker, you’ll get up to speed and enjoy implementing your next 2d game really fast.

Don’t get me wrong, I love Unity but if the project is purely 2D, I’m convinced GameMaker is a better choice since it seems to be its main focus.

If you want to playtest the vertical slice of Pyramid Plunge join us on Discord 

Also follow us on twitter for updates on Pyramid Plunge